
Hướng Dẫn Cài Đặt GeyserMC - Plugin Cho Phép Minecraft Bedrock Kết Nối Vào Máy Chủ Minecraft Java
GeyserMC là một công cụ tuyệt vời cho phép người chơi Minecraft Bedrock kết nối trực tiếp vào các Server Minecraft Java, tạo điều kiện để người chơi từ cả hai nền tảng có thể gặp gỡ và chơi cùng nhau. GeyserMC tương thích với nhiều loại máy chủ như Spigot, Paper, Fabric, và Proxy, giúp bạn dễ dàng kết nối các phiên bản Minecraft khác nhau.
Sau đây là các bước hướng dẫn cài đặt tính năng này cho Server Minecraft:
Bước 1: Tải GeyserMC, Floodgate
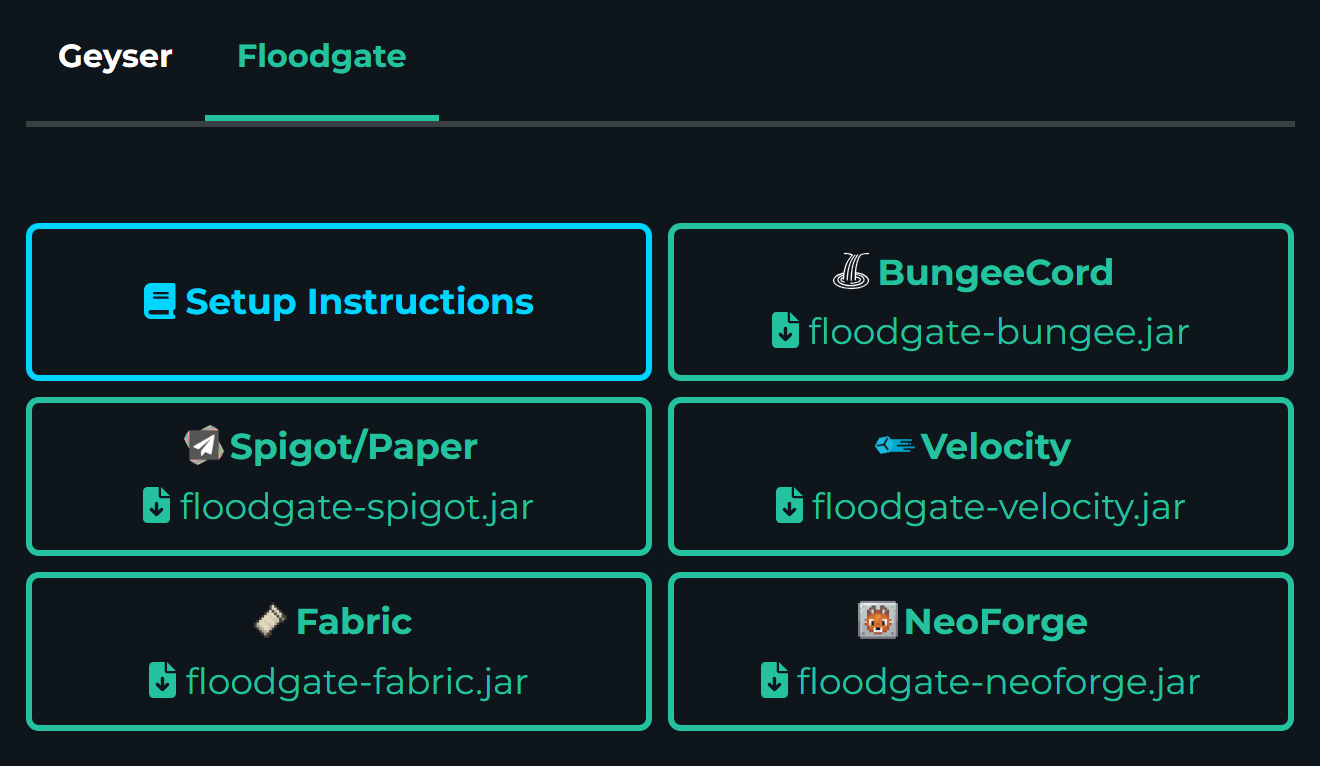
Đầu tiên, truy cập trang tải xuống của GeyserMC (Tại đây) và chọn phiên bản phù hợp với Server Minecraft của bạn. Ví dụ, nếu máy chủ của bạn chạy Spigot hay Paper, bạn sẽ cần tải bản Geyser-Spigot thì plugin mới có thể hoạt động.

Ở cùng trang này, hãy tải xuống Floodgate tương tự như Geyser.
Floodgate là plugin hỗ trợ cho GeyserMC, giúp trải nghiệm của người chơi BE ổn định hơn.
Bước 2: Thêm File Geyser vào Thư Mục Plugins
Trên bảng điều khiển của server, vào mục "Files" và chọn thư mục "plugins." Sau đó, chỉ cần kéo file Geyser và Floodgate bạn đã tải vào thư mục này.
Sau khi thêm file Geyser, bạn cần khởi động lại server Minecraft để plugin có hiệu lực.

Hướng dẫn cài đặt Plugin cho Server Minecraft
Bước 3: Chỉnh Sửa GeyserMC
Khi server hoạt động, bạn sẽ thấy một thư mục mới tên là “Geyser-*” trong thư mục plugins. Hãy vào thư mục này và mở file config.yml để bắt đầu chỉnh sửa.

3.1 Thiết lập cổng kết nối
Ở đây cần chú ý, nếu bạn sử dụng Hosting Minecraft có IP riêng hay VPS (được sử dụng 19132 và 25565) thì không cần chỉnh sửa về cổng (port), chỉ cần đảm bảo cổng đã được mở. Lúc này người chơi Bedrock sẽ tham gia bằng địa chỉ của máy chủ và port 19132
bedrock:
  # The IP address that will listen for connections.
  # Generally, you should only uncomment and change this if you want to limit what IPs can connect to your server.
  #address: 0.0.0.0
  # The port that will listen for connections
  port: 19132
  # Some hosting services change your Java port everytime you start the server and require the same port to be used for Bedrock.
  # This option makes the Bedrock port the same as the Java port every time you start the server.
  # This option is for the plugin version only.
  clone-remote-port: false
  # The MOTD that will be broadcasted to Minecraft: Bedrock Edition clients. This is irrelevant if "passthrough-motd" is set to true
  # If either of these are empty, the respective string will default to "Geyser"
Nếu bạn sử dụng IP chung, hãy chỉnh clone-remote-port: false thành clone-remote-port: true . Lúc này người chơi Bedrock sẽ tham gia bằng địa chỉ và port tương tự như người chơi Java.
bedrock:
  # The IP address that will listen for connections.
  # Generally, you should only uncomment and change this if you want to limit what IPs can connect to your server.
  #address: 0.0.0.0
  # The port that will listen for connections
  port: 19132
  # Some hosting services change your Java port everytime you start the server and require the same port to be used for Bedrock.
  # This option makes the Bedrock port the same as the Java port every time you start the server.
  # This option is for the plugin version only.
  clone-remote-port: true
  # The MOTD that will be broadcasted to Minecraft: Bedrock Edition clients. This is irrelevant if "passthrough-motd" is set to true
  # If either of these are empty, the respective string will default to "Geyser"
Ví dụ: Bạn thuê Hosting Minecraft tại GachCloud và người chơi Java của bạn tham gia bằng địa chỉ node1.gachcloud.net:1234 thì sau bước cài đặt trên, người chơi Bedrock cũng sẽ tham gia với địa chỉ node1.gachcloud.net port 1234
3.2 Thiết lập phương thức xác thực
Nếu sử dụng cấu hình mặc định, người chơi có thể gặp các lỗi như Bạn cần một tài khoản Java Edition để chơi trên máy chủ hay Bạn cần đăng nhập Xbox để tham gia. Để xử lí các vấn đề này và đảm bảo quá trình chơi của người chơi không xảy ra lỗi hãy chỉnh auth-type: online thành auth-type: floodgate
remote:
  # The IP address of the remote (Java Edition) server
  # If it is "auto", for standalone version the remote address will be set to 127.0.0.1,
  # for plugin versions, it is recommended to keep this as "auto" so Geyser will automatically configure address, port, and auth-type.
  # Leave as "auto" if floodgate is installed.
  address: auto
  # The port of the remote (Java Edition) server
  # For plugin versions, if address has been set to "auto", the port will also follow the server's listening port.
  port: 25565
  # Authentication type. Can be offline, online, or floodgate (see https://github.com/GeyserMC/Geyser/wiki/Floodgate).
  # For plugin versions, it's recommended to keep the `address` field to "auto" so Floodgate support is automatically configured.
  # If Floodgate is installed and `address:` is set to "auto", then "auth-type: floodgate" will automatically be used.
  auth-type: floodgate
  # Whether to enable PROXY protocol or not while connecting to the server.
Bước 4: Chỉnh Sửa Floodgate
Tương tự như bước phía trên khi server hoạt động, bạn sẽ thấy một thư mục mới tên là “floodgate” trong thư mục plugins. Hãy vào thư mục này và mở file config.yml để bắt đầu chỉnh sửa.

Theo cấu hình mặc định, floodgate sẽ thêm kí tự . trước tên mỗi người chơi BE, điều này có thể gây lỗi với các plugin quản lí uuid, username, item, permission, v.v Vì vậy hãy sửa username-prefix: "." thành kí tự mà bạn thích, ví dụ username-prefix: "pe_" hay username-prefix: "BE_".
# In Floodgate bedrock player data is send encrypted
# The following value should point to the key Floodgate generated.
# The public key should be used for the Geyser(s) and the private key for the Floodgate(s)
key-file-name: key.pem

# Floodgate prepends a prefix to bedrock usernames to avoid conflicts
# However, certain conflicts can cause issues with some plugins so this prefix is configurable using the property below
# It is recommended to use a prefix that does not contain alphanumerical to avoid the possibility of duplicate usernames.
username-prefix: "."

# Should spaces be replaced with '_' in bedrock usernames?
replace-spaces: true

# The default locale for Floodgate. By default, Floodgate uses the system locale
# default-locale: en_US
Bước 5: Kết Nối Từ Minecraft Bedrock
Sau khi hoàn thành các bước trên, bạn đã thiết lập xong để người chơi trên Minecraft Bedrock có thể kết nối vào server Minecraft Java của bạn. GeyserMC cũng hỗ trợ các phiên bản khác như Mod, Proxy, Bungee với cách cài đặt tương tự. Nếu quá trình cài đặt chưa thành công và bạn chưa biết xử lí như nào, bạn có thể vào Discord GachCloud và nhờ sự giúp đỡ của cộng đồng.
Chúc bạn cài đặt thành công và tận hưởng trải nghiệm kết nối liên nền tảng tuyệt vời cho server Minecraft của mình!